If you are considering selling on Amazon or are already selling on Amazon then you should already know that good product images are one of the key things to get sales on Amazon. And not just “good” product images. You need to really think through what captures customers’ minds and make them want to buy your product.
In this post we’ll talk about how to take Amazon product photos and stand out from your competitors. If you’d like to learn more about what products to sell on Amazon then read our blog post here. We have also covered everything in detail about how to do a product research on Amazon.
Before we dive in, let’s talk about what you need to know before taking your product images and make sure you get the best outcome. When you are selling on Amazon then before taking your product images you should analyze your competitors and see how they have done it. Look at following things:
- Main image – how have they taken their main image? What do they display? Do they have a package on the main image? Is there a way how you could stand out and make your main image more attractive? Look at all the top listings on Amazon in your category and analyze them.
- Second image should get right to the point of what your product is, what it does and how it is doing it better than your competitors. For that, analyze your competitor listings and see if there’s a way to stand out on Amazon?
- Comparison table – Do your competitors have it? If they do then what are they comparing? Is there anything that is left out and you could use yourself?
- What’s in the box? Make sure you add everything and leave an impression that customers really get their money’s worth when they buy your product.
- How to use the product – This is also extremely important. You need to show in steps how the product works and what are the benefits when using it.
- Lifestyle image 1 – Lifestyle images need to be professional and speak to your target audience – whoever that is. Hire professional models for that to get the best results. If you don’t have the budget for that then you could get away with family and friends. Be creative and find the best solution for your business. Also look at your competitors and see how they have done it. How can you do it better?
- Lifestyle image 2 – It’s always good to have more than one lifestyle image on your product listing.
- Before and after photo – If your product solves a certain problem then make sure you add a before/after photo to your listing.
- Any other special things that you could bring out? For example designed in the USA, manufactured in the USA or anything else? Really think it through and find the best solution for your Amazon listing.
Learn how to take Amazon product photos and avoid rookie mistakes
Below are some of the crucial mistakes that Amazon sellers make when starting out. A lot of people actually don’t know how to take product photos for their Amazon listings and fail in their business because of that. We hope that these points save you from some of these mistakes.
Not Giving Exact Instructions to Photographer
Hoping that your photographer knows how to take the best images for your Amazon listing because they are a professional. Not true. They are not Amazon sellers and they probably don’t know how to sell on Amazon. You need to give them exact instructions and steps on how to take your Amazon product photos. Of course you can ask for advice and tips but don’t leave it all for the photographer to decide.
Not Optimised for Mobile and Desktop
Your product images should look good on desktop and mobile. Make sure you check your listing on both devices. If it’s not looking good then adjust the design or take new product images.
Images are Too Small
If your product images are too small then customers can’t see your product details that well. Make sure you are taking close shots of your product.
Too Much Text on Product Images
Beginner sellers usually want to say a million things on their product images. Get right to the point and don’t add too much text on your Amazon product images. Mostly use bullet points and headings.
Not Showing Your Product from Different Angles
It’s important to show your product from different angles. Of course it depends on the product as well but make sure you show your product from every angle what’s needed. This is not a place where to save money when taking Amazon product images.
Not Thinking About Your Amazon Listing Design When Taking Images
Usually people take their product photos and then see what design they can do with their images. It shouldn’t be like that. You should already know how you want your design on Amazon to look like and how you need to take your Amazon product photos for that. It should work hand in hand. First think it through and then take your product images.
What Are Amazon Product Image Requirements
To upload images to Amazon they need to meet certain requirements. Below you can find a list of things Amazon requires from sellers before uploading their images on Amazon.
- Images must accurately represent the product that is for sale.
- Images must match the product title.
- Product must fill at least 85% of the image.
- The optimal zoom experience for detail pages requires files to be 1600px or larger on the longest side. Zoom has been shown to help enhance sales. If you are unable to meet this requirement, the smallest your file can be for zoom is 1000px, and the smallest your file can be for the site is 500px.
- Images must not exceed 10,000px on the longest side.
- Images must be in JPEG (.jpg or .jpeg), TIFF (.tif), PNG (.png), or GIF (.gif) file formats. JPEG is preferred. Our servers do not support animated .gifs.
- Images must not be blurry, pixelated, or have jagged edges.
- Images must not contain nudity or be sexually suggestive. Kids’ and baby leotards, underwear, and swimwear must not be shown on a human model.
- Images must not include any Amazon logos or trademarks, or variations, modifications, or anything confusingly similar to Amazon’s logos and trademarks. This includes, but is not limited to, any words or logos with the terms AMAZON, PRIME, ALEXA, or the Amazon Smile design.
- Images must not include any badges used on Amazon, or variations, modifications, or anything confusingly similar to such badges. This includes, but is not limited to, “Amazon’s Choice,” “Premium Choice,” “Amazon Alexa,” “Works with Amazon Alexa,” “Best seller,” or “Top seller”. Refer to trademark usage guidelines for more details.
How to Take Amazon Product Photos – Best Practices!
Below are some of the most important tips you can have when taking your Amazon product images. Make sure you apply them all to increase your chances of success on Amazon.
Make Sure You Use All the Space on Your Product Image
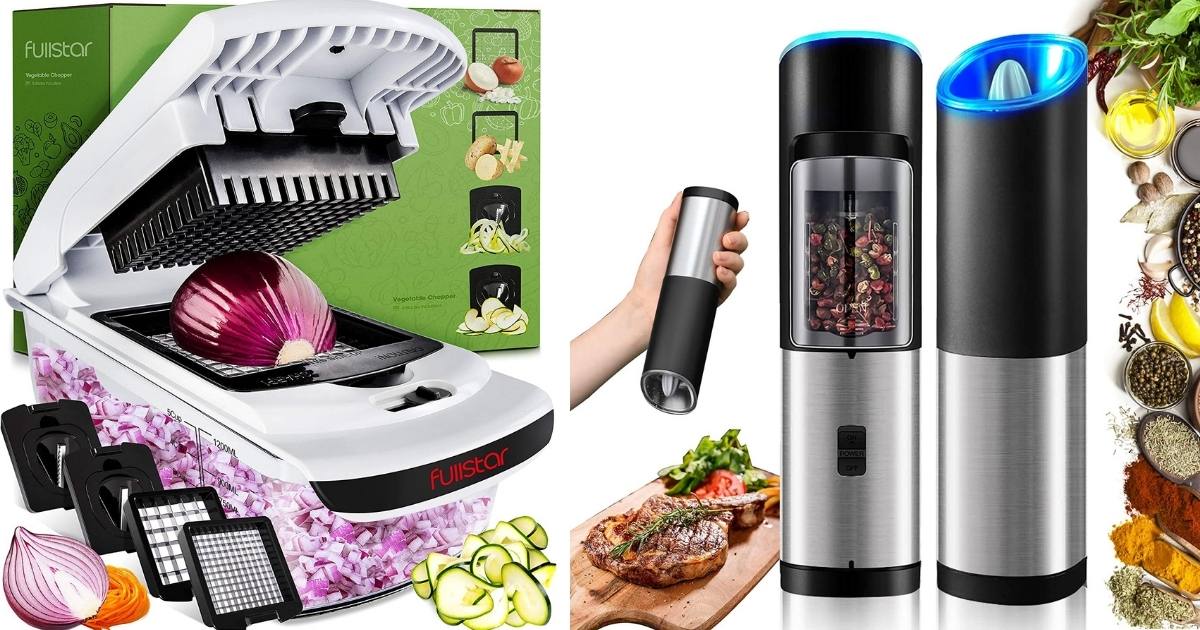
A lot of times people don’t optimise their main image and just leave it as the photographer took it. It’s important that you stretch it out and use all the white space available on the sides. If you do that then your product will look bigger on the search.
Add a Package and Accessories to Your Main Image
As you can see then you can be really creative with your main image. You can showcase how the product works and add fruits and vegetables to it, if it fits your product.

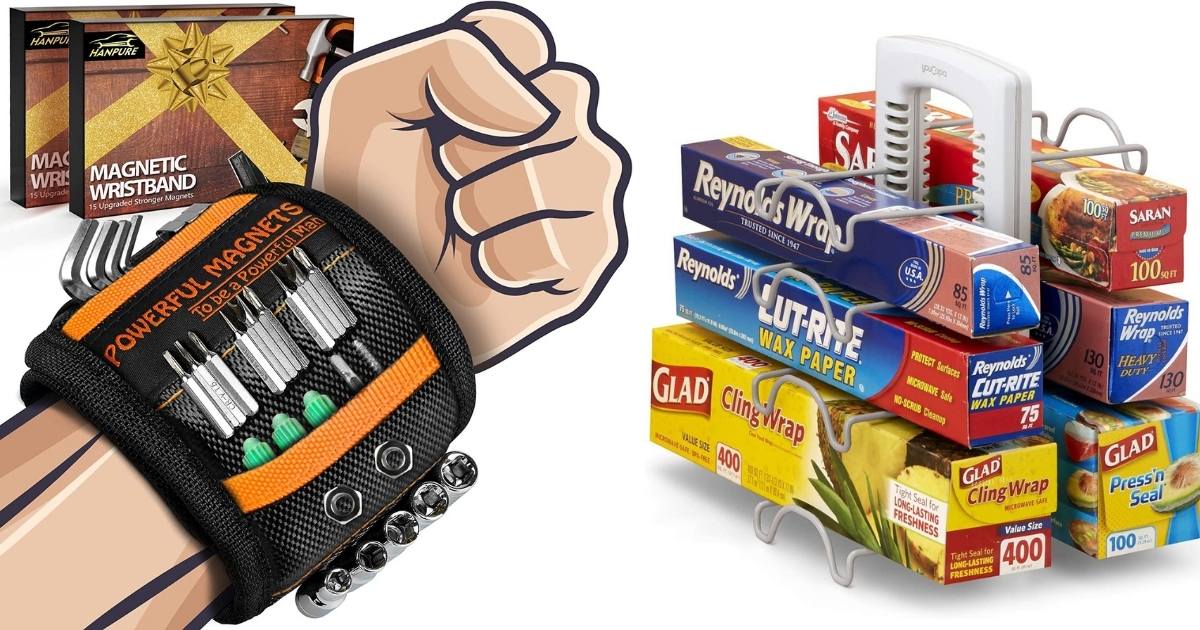
Add Extra Elements to Your Product Photo
If your product is meant to do something. For example as for the product below. Then make sure you add really colourful items on the image to make sure it stands out.

Test Which Product Images Work the Best
You should have at least 3 image ideas for your main image. It could be that your first image might not work that well. If that happens then try to come up with more creative ideas for your main image.
Add a Sticker to Your Product Box
If your product is not selling that well and you need some boost then here’s a thing that you could try. Make sure it’s TOS compliant before trying. It’s a little grey area. You could add a sticker to your box without actually adding it in real life. Usually customers don’t mind and you can get away with that. There’s lots of options on how to do that.

I added that sticker with Canva PRO. They have lots of options to choose from and you can find a way that works the best for your product. Check out Canva PRO here.
How to Design Amazon Product Listing?
The best way to design your listing is to hire someone professional who has a good track record. Usually that costs around $1000 and if you hire the right person then you should get a really good product listing for that money.
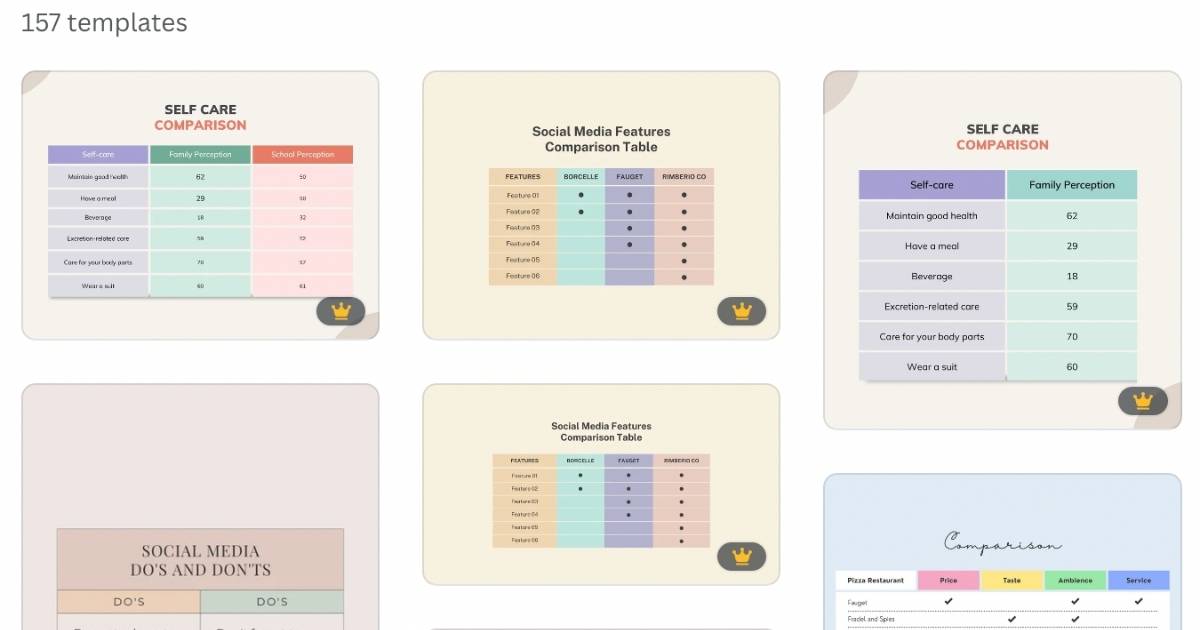
Another way to do it is using Canva PRO. Canva has made design simple. You can just drag and drop your images. For example, for the comparison table they have 157 templates to choose from. You can adjust the font, color, and columns with a few simple clicks. No need to use Photoshop or pay a designer 50$/h.
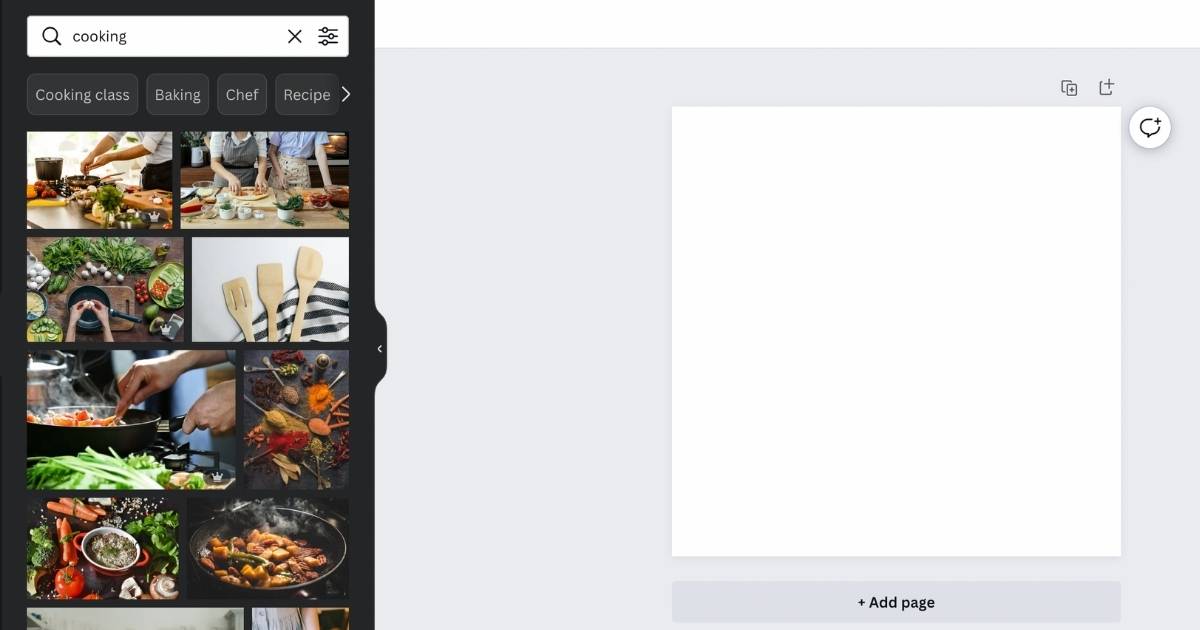
Canva PRO is also good because they have a lot of lifestyle images you could use for your product listing. For example if you are in the kitchen category and really want to create the emotions for your customers then Canva has thousands of images to choose from. If you create these images yourself then first you’d need a really good kitchen, buy food, chef, hire a photographer etc. With Canva PRO one time fee you basically get that image for free.
Bring Out Your Product Details
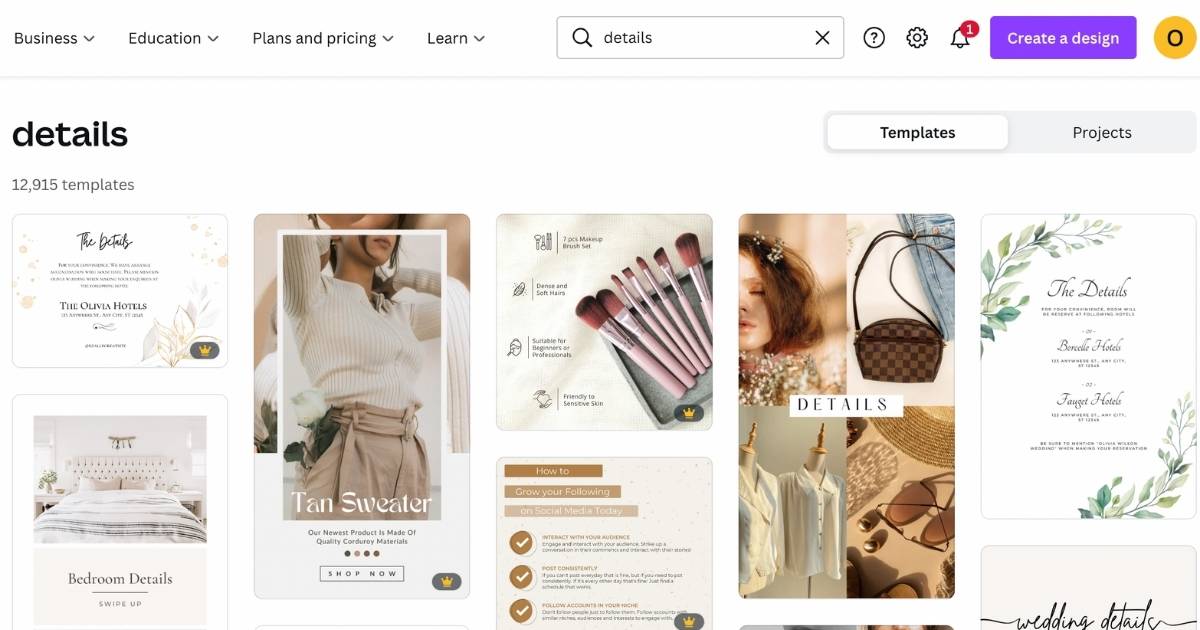
If your product has important details that need to be mentioned then you need to bring it out. There’s over 10 000 product detail templates on Canva.
Actually a lot of designers are using Canva for inspiration and templates. There’s no need to pay someone a really expensive fee when you can get it all for a fraction of price.
How to take Amazon product photos conclusion
The key to making really good product photos for Amazon listing is doing the right research before taking your images, giving the right instructions to the photographer and really thinking through how you want your product images on Amazon to look like.
By now you should know how to take your Amazon product photos, what are the mistakes to avoid and have to save money while doing it. If you have any questions about Amazon business then leave a comment below or send us a message. We’re more than happy to help you out.

